Honey Harvesting - The sweet reward of beekeeping
Published: 11-08-2021
Beekeeping is not only good for the soul, mental health, and the environment, it also reaps all kinds of rewards. We all have our reasons for keeping bees, but there’s one main thing that we all look forward to: honey!

Not only is honey one of the most naturally delicious foods on the planet (around 43,000 tonnes are consumed each year in the UK alone), but it’s also used for medicinal reasons in many places worldwide, including the UK. Medical grade honey is used on acute and chronic wounds for it's antimicrobial and anti-inflammatory properties. It’s no wonder honey has been regarded as an extremely valuable commodity for eons.
Compared to that on the supermarket shelves, locally produced honey is far superior. In fact, they can’t really be compared for taste or authenticity. Imagine then, how amazing it feels to produce your own! Any beekeeper will swear that theirs tastes the best, with every honey harvest perfectly reflecting the aromas of the surrounding area. A real taste of home.
The golden rule: Don’t be greedy!
Remember, bees work really, really hard. To make just one pound of honey, they must travel approximately 55,000 miles! They don’t work that hard to produce honey for us humans, they do it with intention of surviving over those harsh, cold winters. Therefore, remember that you must leave sufficient stores for them. Don’t ever be a honey scrooge!
In a good season, the average hive can produce around 60lbs or more of honey and around 25lbs of surplus (the honey you can take). Therefore, the bee’s survival should be your priority and once you know they’ll have enough (around 35 lbs), you can enjoy the rest.
It must be said however, that many beekeepers are not this generous and due to the unpredictable climate, UK beehives often need to be fed a sugar syrup solution to top up to this level for the bees to survive.
Whatever you do, just be sure that your bees have what they need to get through our often harsh winters.
What kind of honey to harvest?
Your choice of which honey to harvest will have an impact on the tools you use, as some types need specific equipment. If you have various hives, the time and inclination, you can obviously harvest more than one type. You’ll be busy, but it’ll be fun!
So, what’s the choice? Well, there’s 4 main types of honey that we’re going to concentrate on here:
- Extracted honey

This is the clear, runny and super popular kind of honey that we all love. In simple terms, this is extracted by removing the wax caps from the honeycomb using an uncapping knife and uncapping fork and getting the liquid honey from the cells using centrifugal force in a spinning extractor. Then the runny honey is released from the extractor, put through a honey strainer into plastic food-grade settling tanks ready for bottling up into honey pots or jars.
This is the most common honey that is harvested by new beekeepers, so we’ll talk about this in more depth later.
- Comb honey/Sections

Comb honey: This type of honey is left exactly as the bees make it – still in the comb. Although it’s a little tricker to get the bees to make this kind honey due to the fact that you need a very strong nectar flow and equipment such as special thin and unwired cut comb foundation, the harvesting of this type of honey is a lot less complicated than that of the method mentioned before. The comb is simply cut from the frames with a comb honey cutter.
Sections: This is the honey that people pay a market premium for and requires special racks containing plastic or wooden sections that are square or round in shape. When it comes to harvesting, this is the simplest as the sections are produced exactly as they will be sold.
- Chunk honey

This always looks very attractive to consumers and is the best of both worlds; extracted honey and comb honey. Packaged up, there is a piece of honeycomb in the middle, surrounded by lots of runny extracted honey. What’s not to like? Yum!
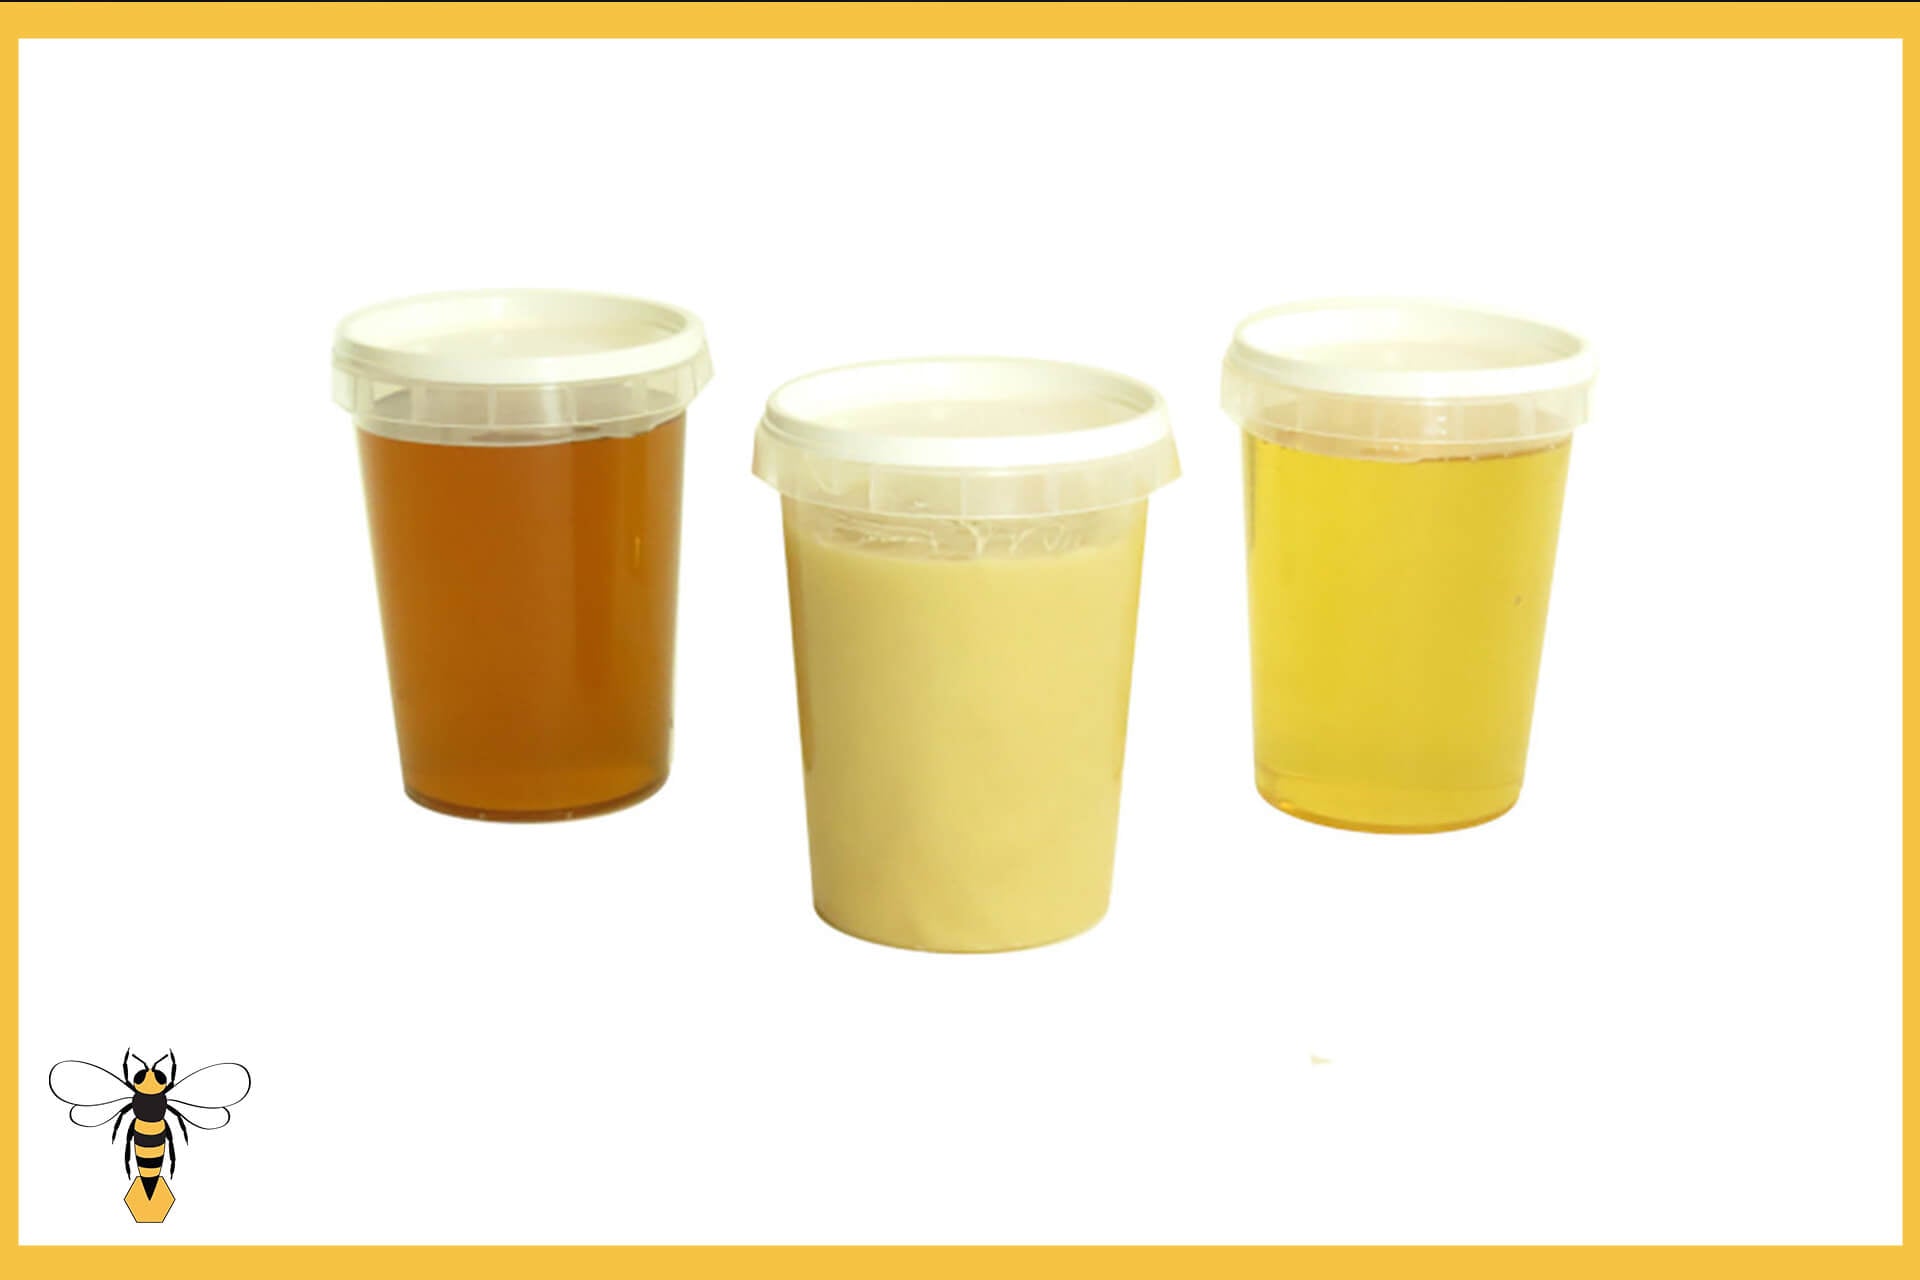
- Soft-set honey

All honey will eventually form granulated crystals no matter what temperature it’s kept at, but a good tip is never to put honey in the fridge as it speeds the crystallisation process up. If the crystallisation process has already begun, soft-set honey can be created by mixing granulated honey (10%) and liquid honey together (90%).
There are lots of detailed blogs and videos online that explain in detail how to do this.
Time for the harvest
So having decided what type(s) of honey you want to produce, now is the time for the harvest. You have your harvesting equipment and you’re ready to go…
Bees generally collect their main surplus in June and July, and beekeepers harvest the honey at the end of the nectar flow when the hives are filled with capped honey.
When checking your hives over the summer and peeking under the crown board at the supers, you’ll be able to see how full the frames are. If there’s around 80% coverage, it’s okay to remove and harvest that frame. However, you may decide to leave it until all the frames have been filled with capped honey, after the last major nectar flow of the season is done. Remember though, you don’t want to leave the supers on too long as the bees with either start to consume the honey, or the weather will change and make it too cold. Honey needs some warmth within it to be at its best to harvest.
How to get the bees out
The bees are very protective of their honey, so obviously, you need to be properly suited and booted when visiting the hives and attempting to remove your supers. Be sure to give the bees a good waft of smoke as you usually would, and don’t cut corners on your protective clothing!
(Please see our blog on how to use a bee smoker).
In order to remove your supers, you need to make sure they’re clear all of bees. So how do you do that? Well, there’s a couple of popular options:
You can shake the bees off the frames near the hive’s entrance, gently using a bee brush to help remove your bees without injuring them. Then, simply put each cleared frame into an empty super and cover with something, like a tablecloth or towel to prevent any robbing from happening.
This first suggestion can be quite time consuming, so the other popular option is to use bee escapes. One example are Porter bee escapes. These act as a one way door to the honey reserves, temporarily preventing bees from returning while beekeepers remove the honey harvest. These bee escapes need to be fitted prior to extraction, so need to be on at least 24 hours in advance to give the bees chance to clear from the supers.
Important tip: Never leave honey supers uncovered where the bees can get to them, or else you will have lots of bees trying to get their honey back! Get the supers away from the hives and somewhere bee-tight as soon as possible. You do not want a crazy bee frenzy happening!
Extracted Honey
If you’ve opted to harvest extracted runny honey, you need to process it as soon as you can as the honey needs to be warm to flow better.
We mentioned the tools needed to process extracted honey earlier on, so let’s look at it in more depth.
- In order to extract the honey from the frames, simply remove one at a time from the super and hold over a bucket or suitable container to catch the caps.
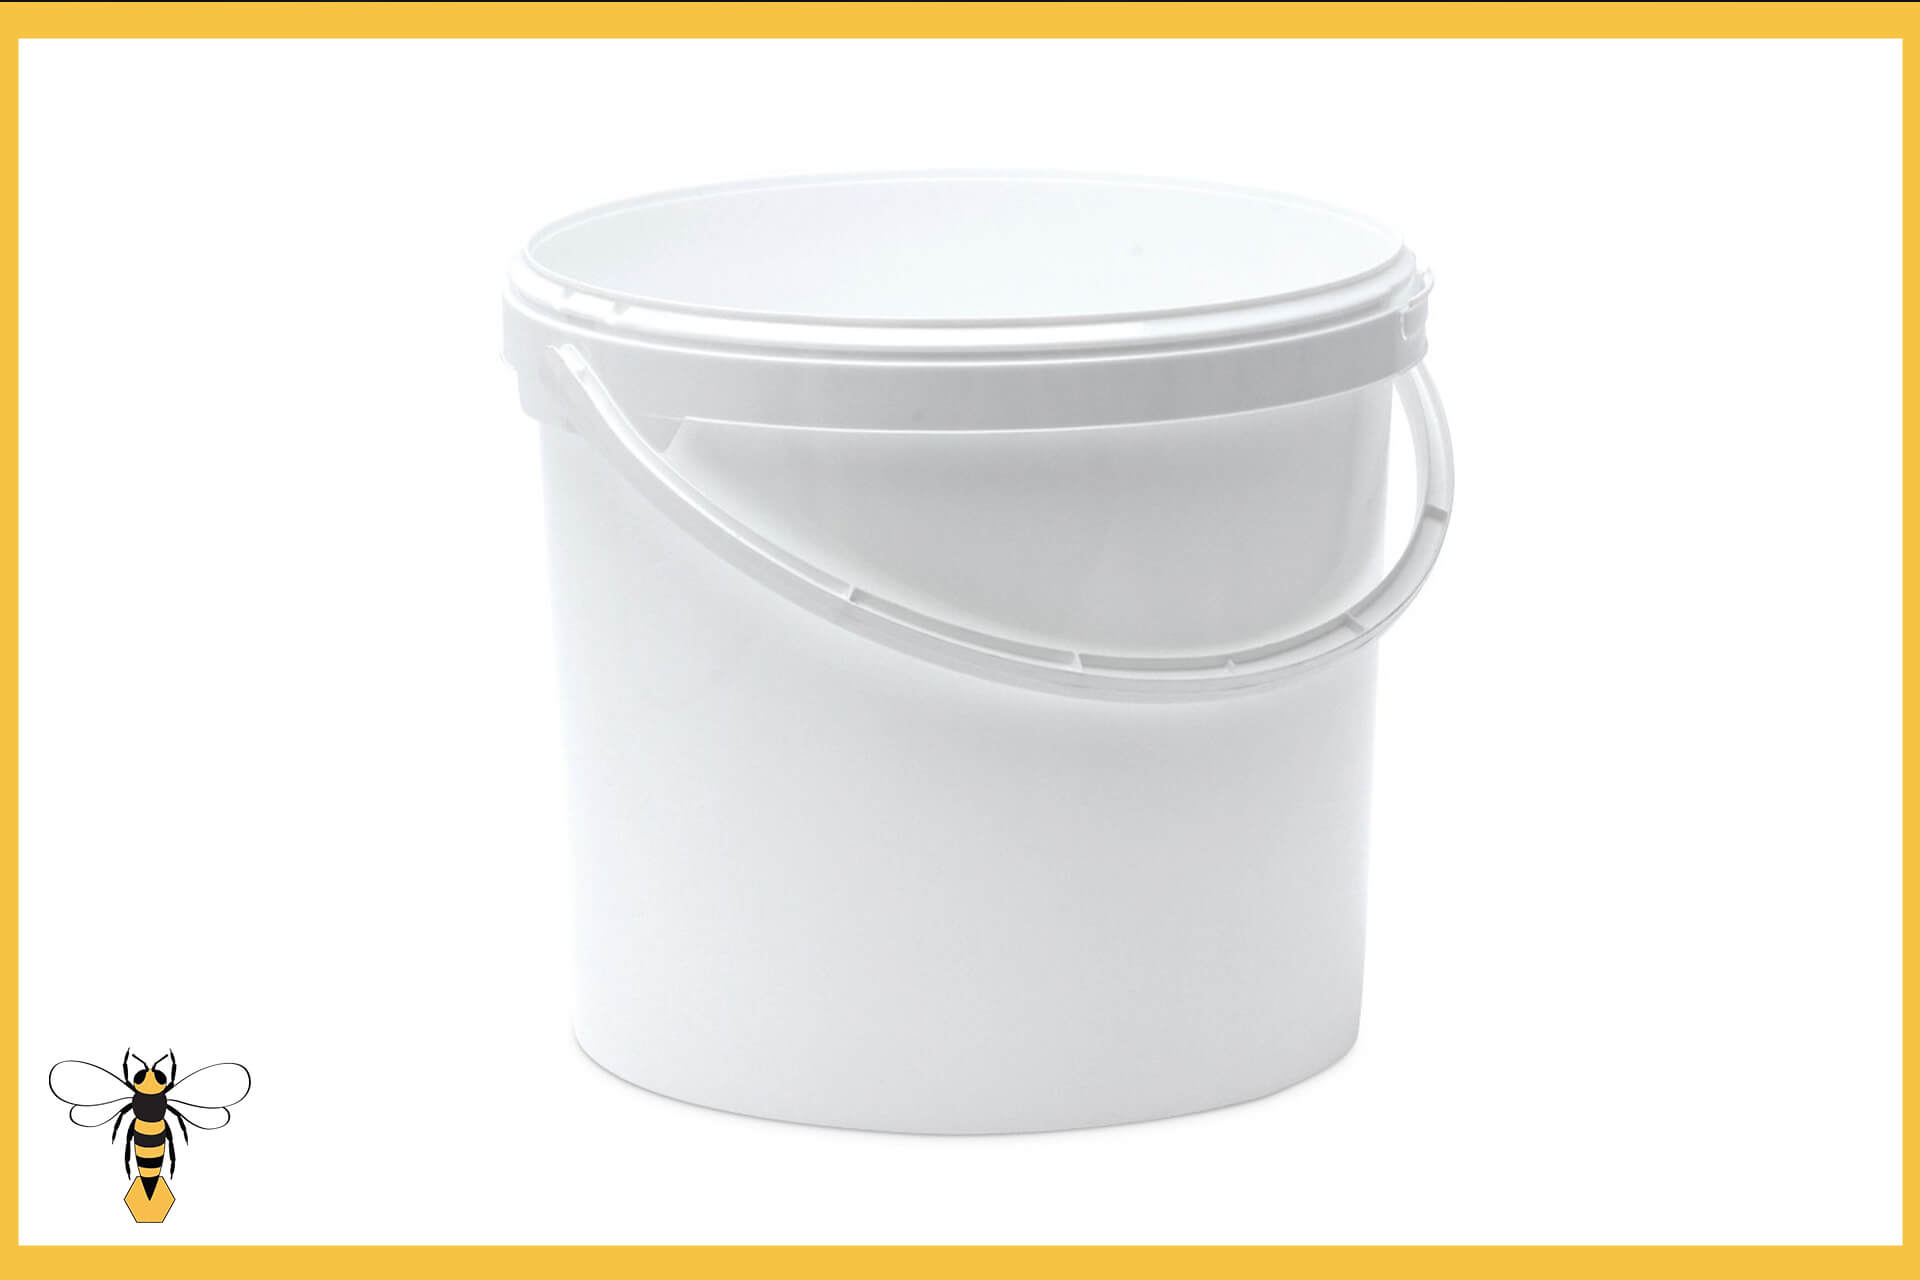
- Get your uncapping knife, remove the caps from the top of the comb, making sure to tilt the frame slightly so the cappings fall away into the bucket (or whatever container you are using). Be sure to take care that no fingers and thumbs are in the way.
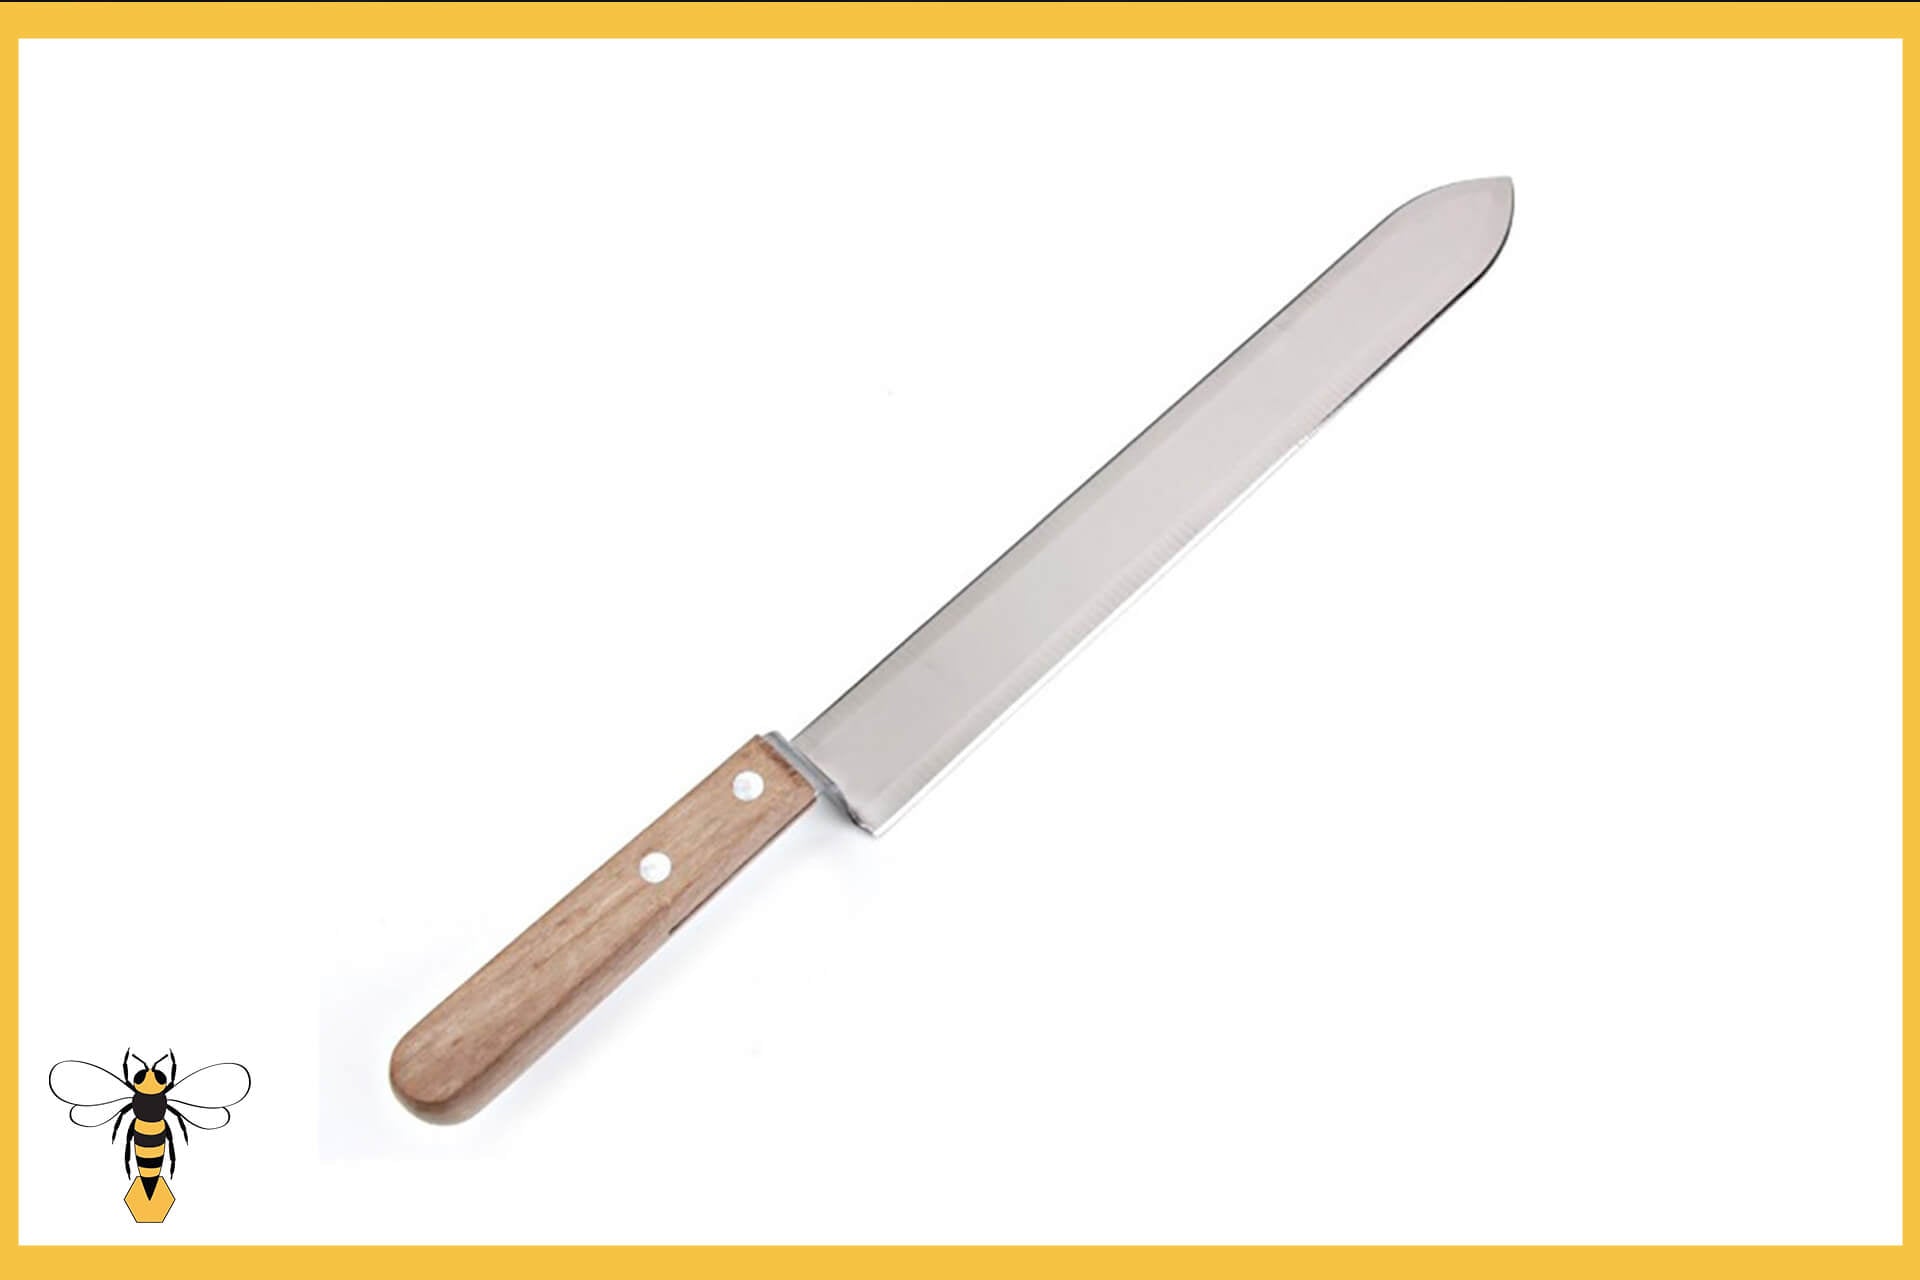
- You may need to go back and touch this up slightly as we all tend to miss a few caps. You can either do this with your uncapping knife,an uncapping peeler (great for corners) or use a smaller uncapping fork for the job.

- Place each uncapped frame into your extractor, making sure the weight is shared equally, and start spinning, building your speed up gradually.
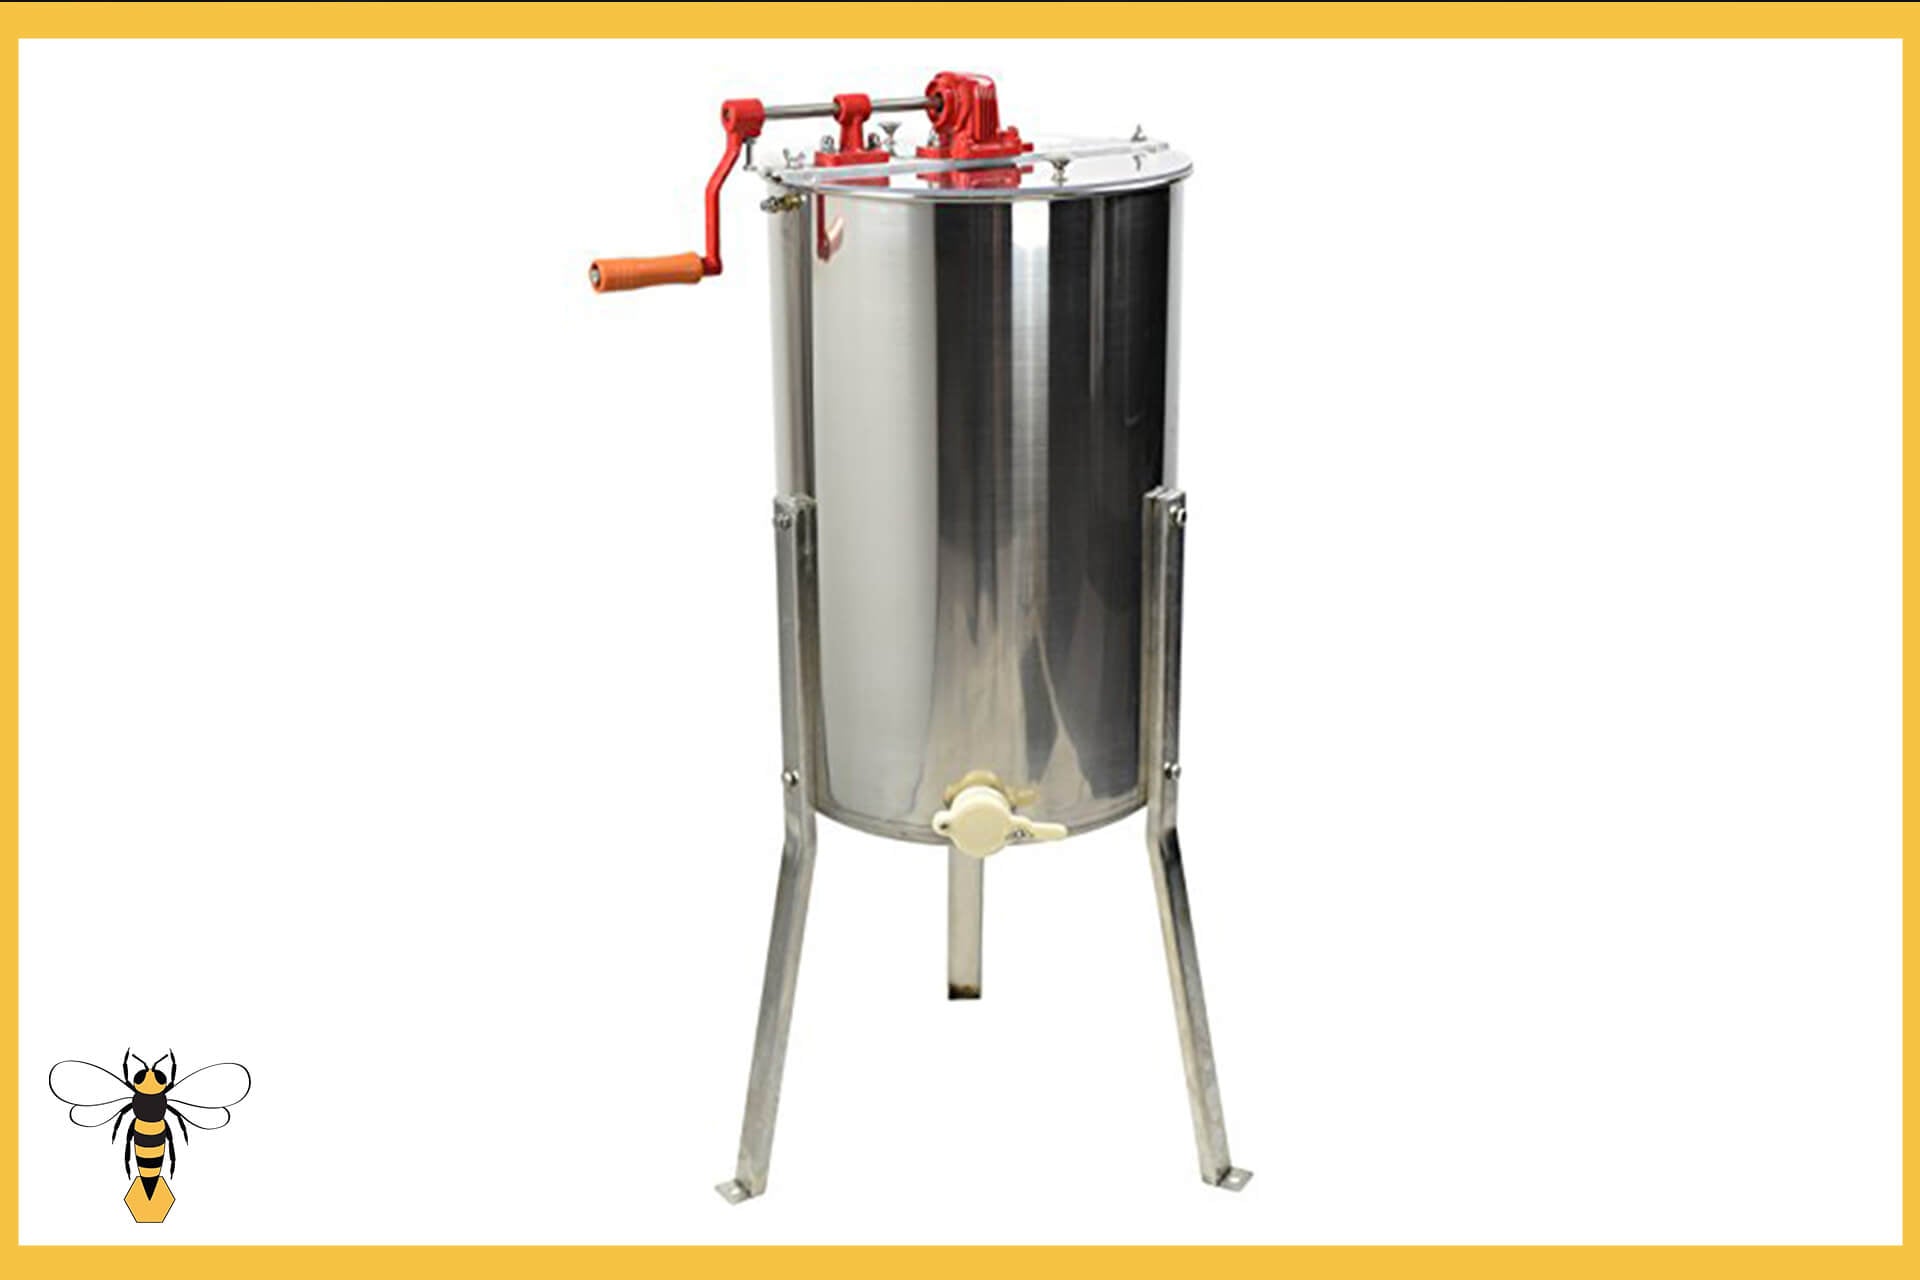
REMEMBER: It’s important that you decant your honey before the well at the bottom of the extractor gets too full. If this happens, spinning will become increasingly difficult.
- Open the honey gate on the extractor and let the honey flow through the strainer and into your plastic food-grade settling tank.
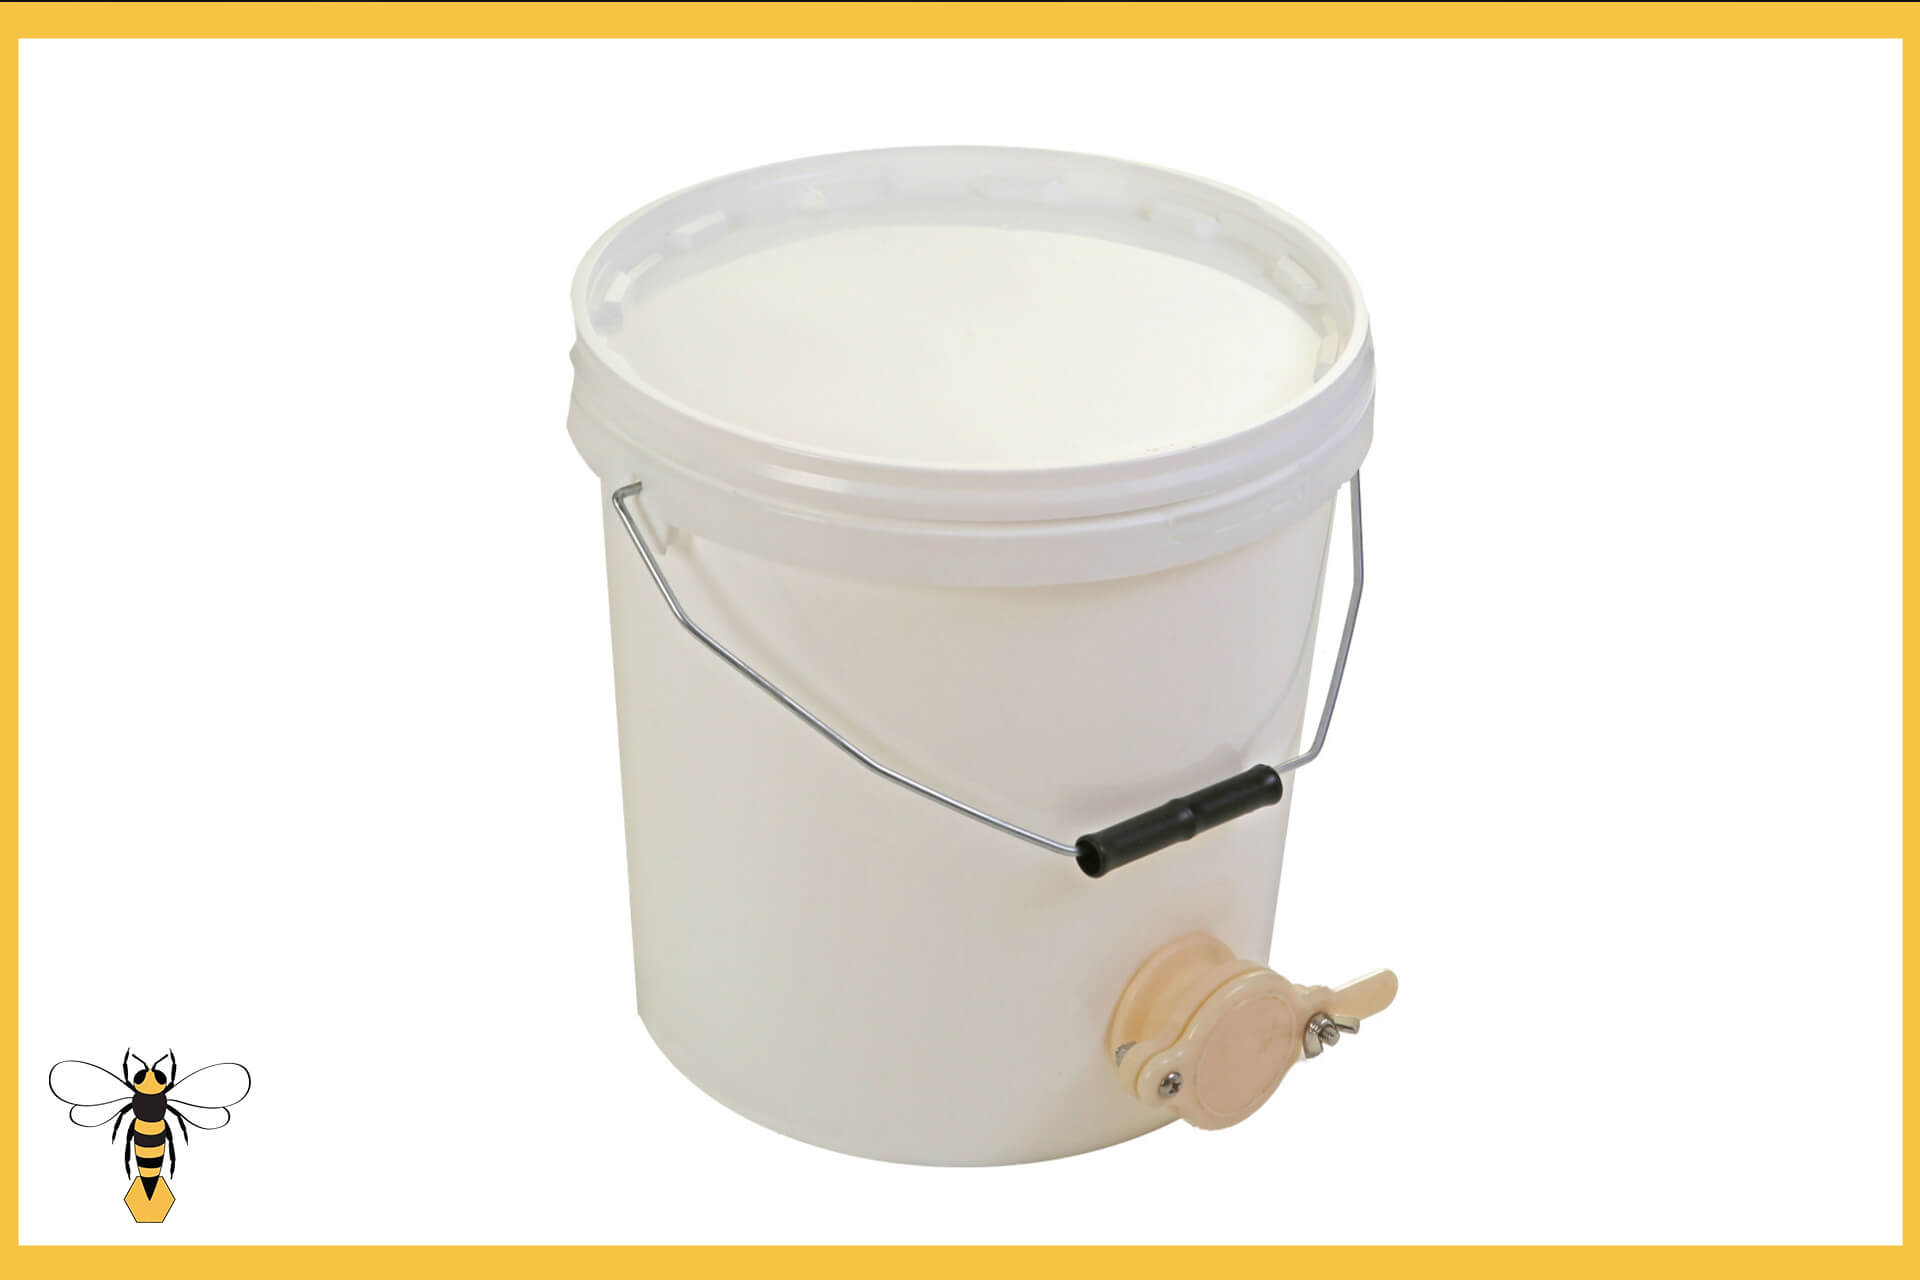
- When you’re ready, release the honey through the valve on the settling tank, into your honey pots and containers.
That’s it. You’ve done it. You’re now ready for the all-important labelling of your very own honey!
Extracting without an extractor
If you don’t want to use an extractor, but still want to have the runny type of honey, then you can use what is known as the ‘crush and strain’ method. It’s quite simple but requires a little more elbow grease as you must manually crush up the comb with a masher before straining it.
First, break the honeycomb into chunks straight off the frames. If you’ve used plastic foundation, just scrape the comb off and place it all in a suitable container like a bucket so it’s ready for mashing and putting through a strainer. There will be quite a lot, but this will obviously reduce in volume as the crushing commences. You may also choose to put the honeycomb straight into a strainer over a settling tank and mash it while it’s in there. Whatever works best for you.
When it’s ready and the cells are broken up, leave the mashed-up honeycomb to gently work its way through the strainer. By making sure you’re in a warm space, the honey will flow better (but, obviously you don’t want it to be too hot!). Time and gravity will take care of the rest. You’ll probably find that an hour is enough time.
You may find that after this process, your honey is clean enough. However, if you wish to strain the honey further through a finer mesh honey strainer, that’s up to you. Your honey, your decision.
When you’re happy, you’re all ready to decant the honey into your jars and/or containers and get labelling!
Drawbacks of this method: By using the ‘crush and strain’ method, it renders the honeycomb useless because it has been broken up, whereas if you use an extractor, the honey is spun out of the comb, and it can be reused in the frames.
Heather honey: The crush and strain method is essential in extracting the prized, more gelatinous heather honey that can be prevalent towards the end of the season.
Labelling your honey
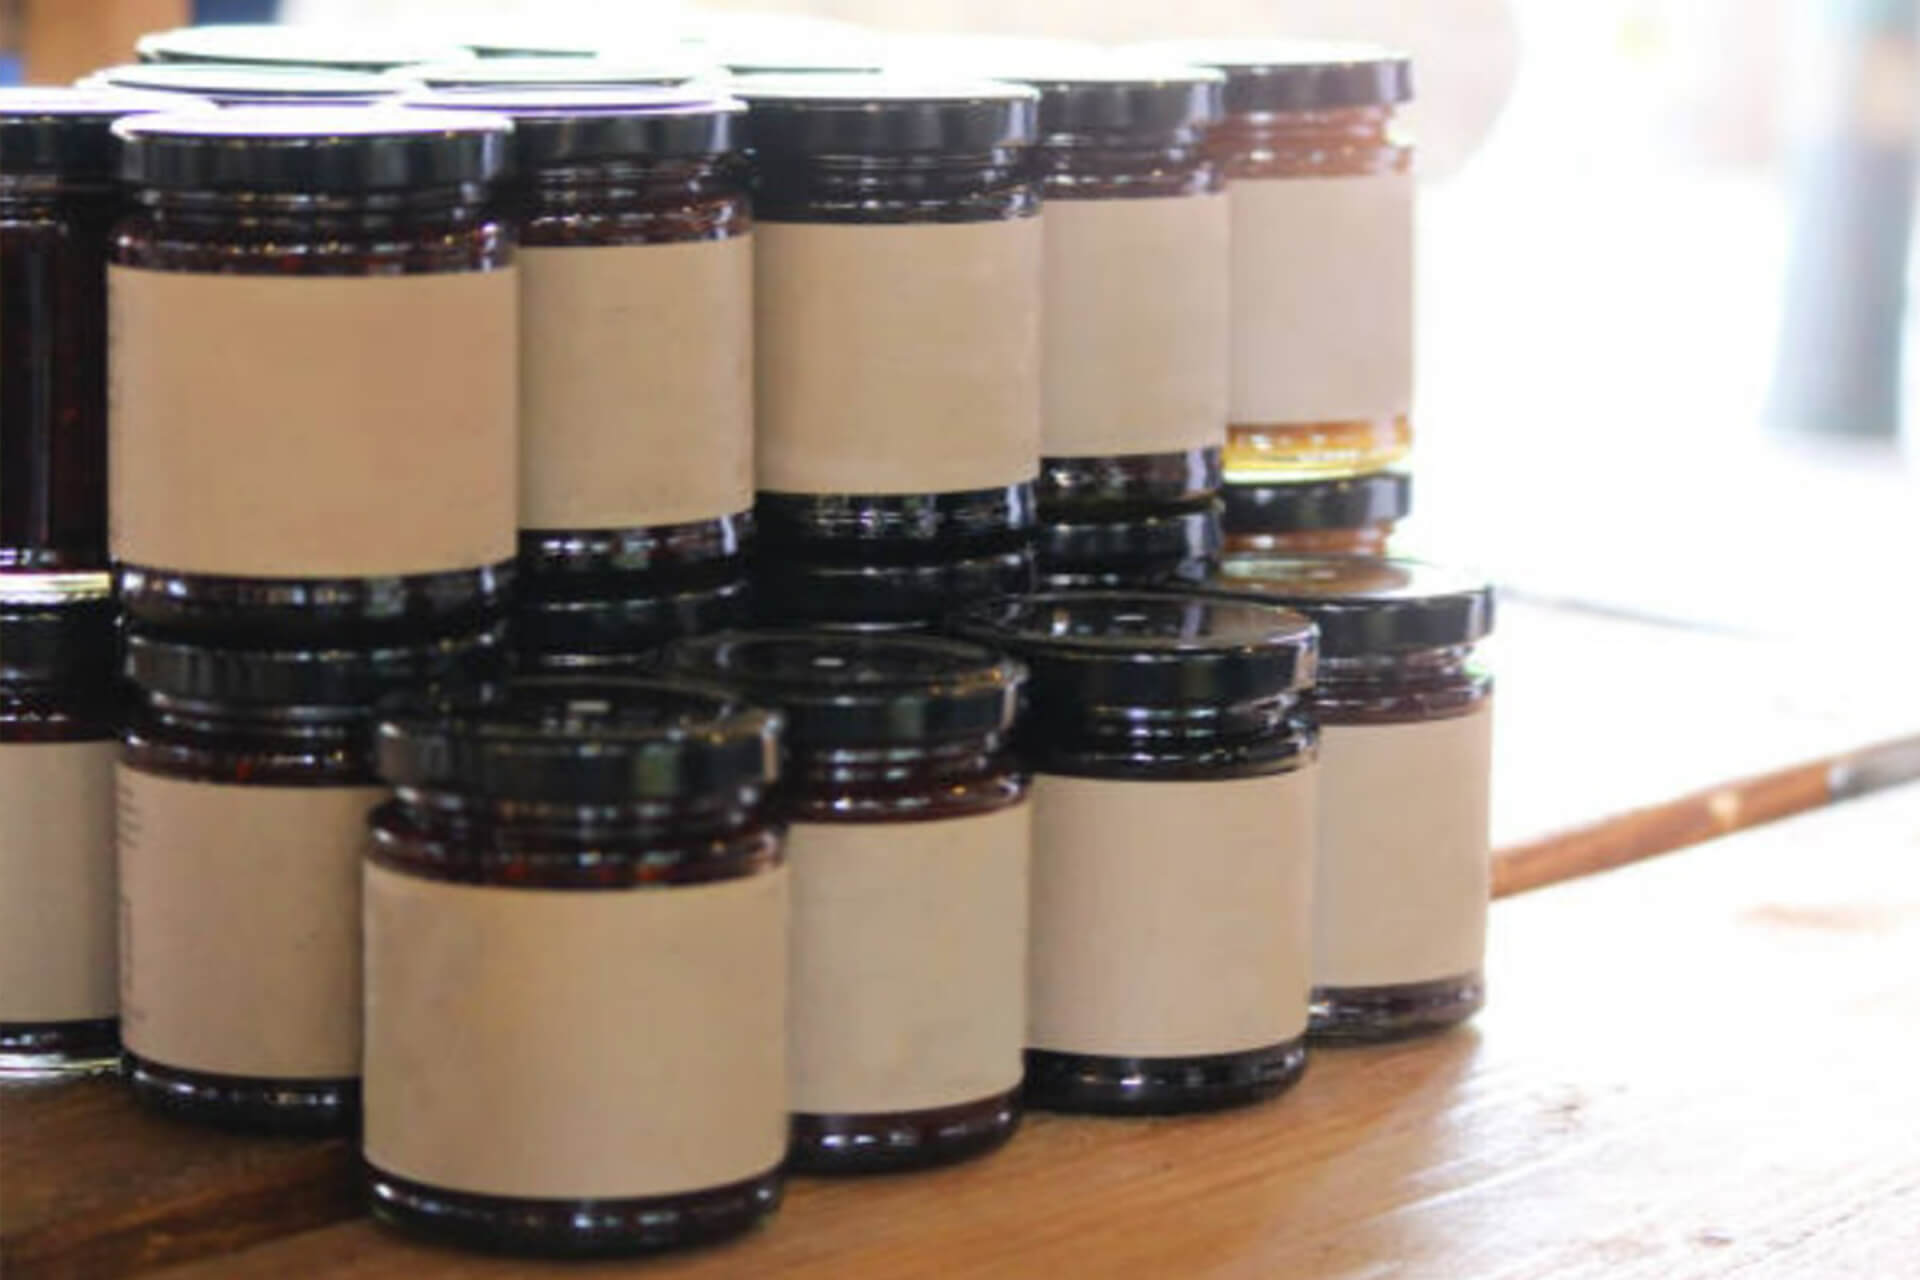
This is such an exciting part and really gives you the chance to make your honey stand out. You can give your honey to friends and family, but if you are planning to sell it, the following MUST be present on your labels to be in-keeping with The Honey (England) Regulations 2015:
- The name
- The name or trade name and address of the producer or responsible food business operator
- The country or countries of origin
- Any special storage conditions
- A best-before date
- A lot mark
- The weight
You can find more detailed information about honey composition and labelling on the GOV.UK website or by clicking on this link: https://www.gov.uk/guidance/food-standards-labelling-durability-and-composition#honey
Get in touch with us
We hope you’ve found this information useful and enjoyable.
If you have any question at all, we'd be happy to help. Just email us at: info@simonthebeekeeper.co.uk
Happy beekeeping!